


Canvas Mounting Instructions
Looking to elevate your space with canvas? Forget the hassle of nails and hammers. Our step-by-step guide ensures effortless hanging, tailored to every skill level. Transform your walls into a masterpiece haven in minutes!
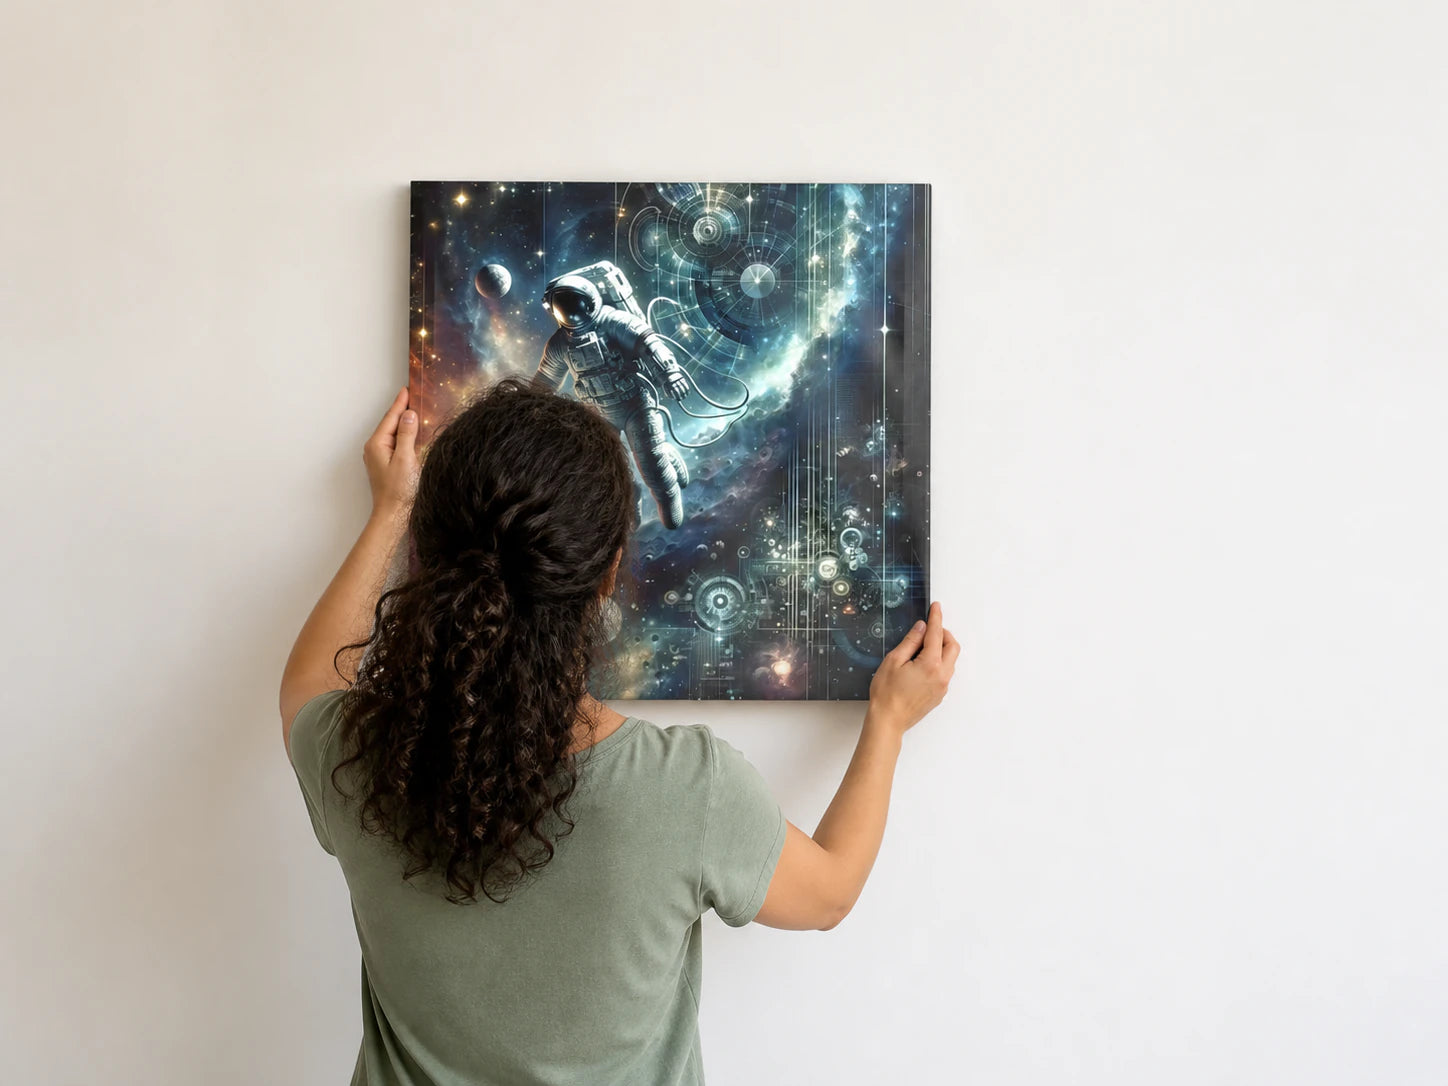
Method One
You will need
- Screwdriver

- Two screws

- Spirit level

- Hammer

- Nails

- Sawtooth hanger


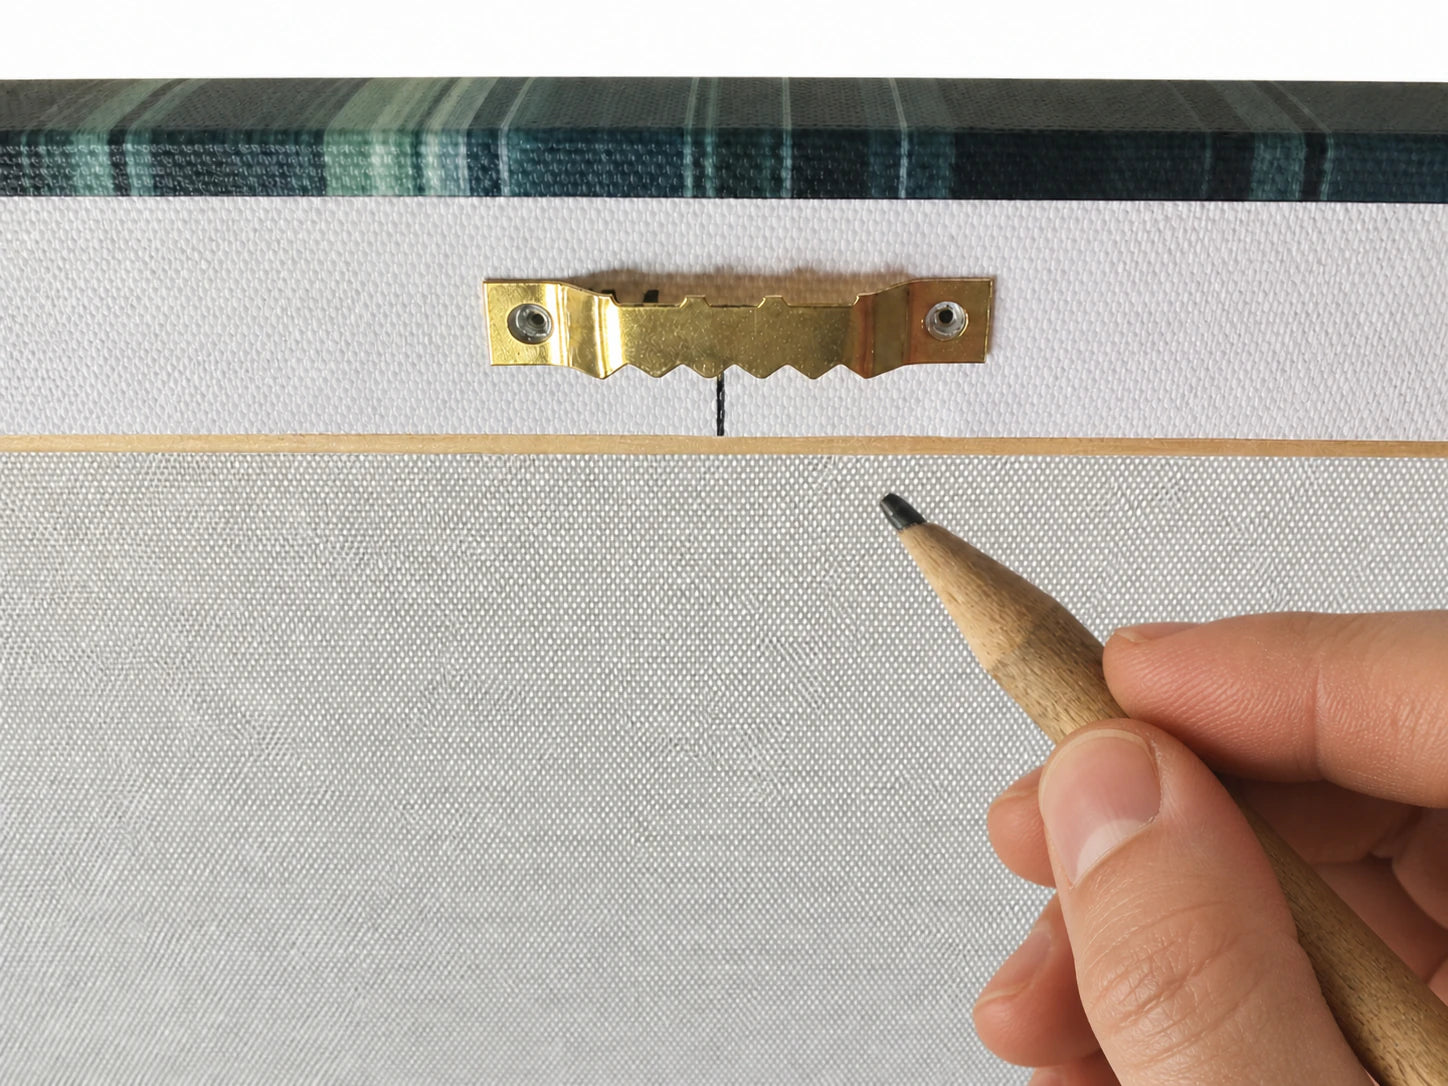
Step 1
Preparing the Canvas
Locate the top edge of the canvas where you will mount the sawtooth hanger.
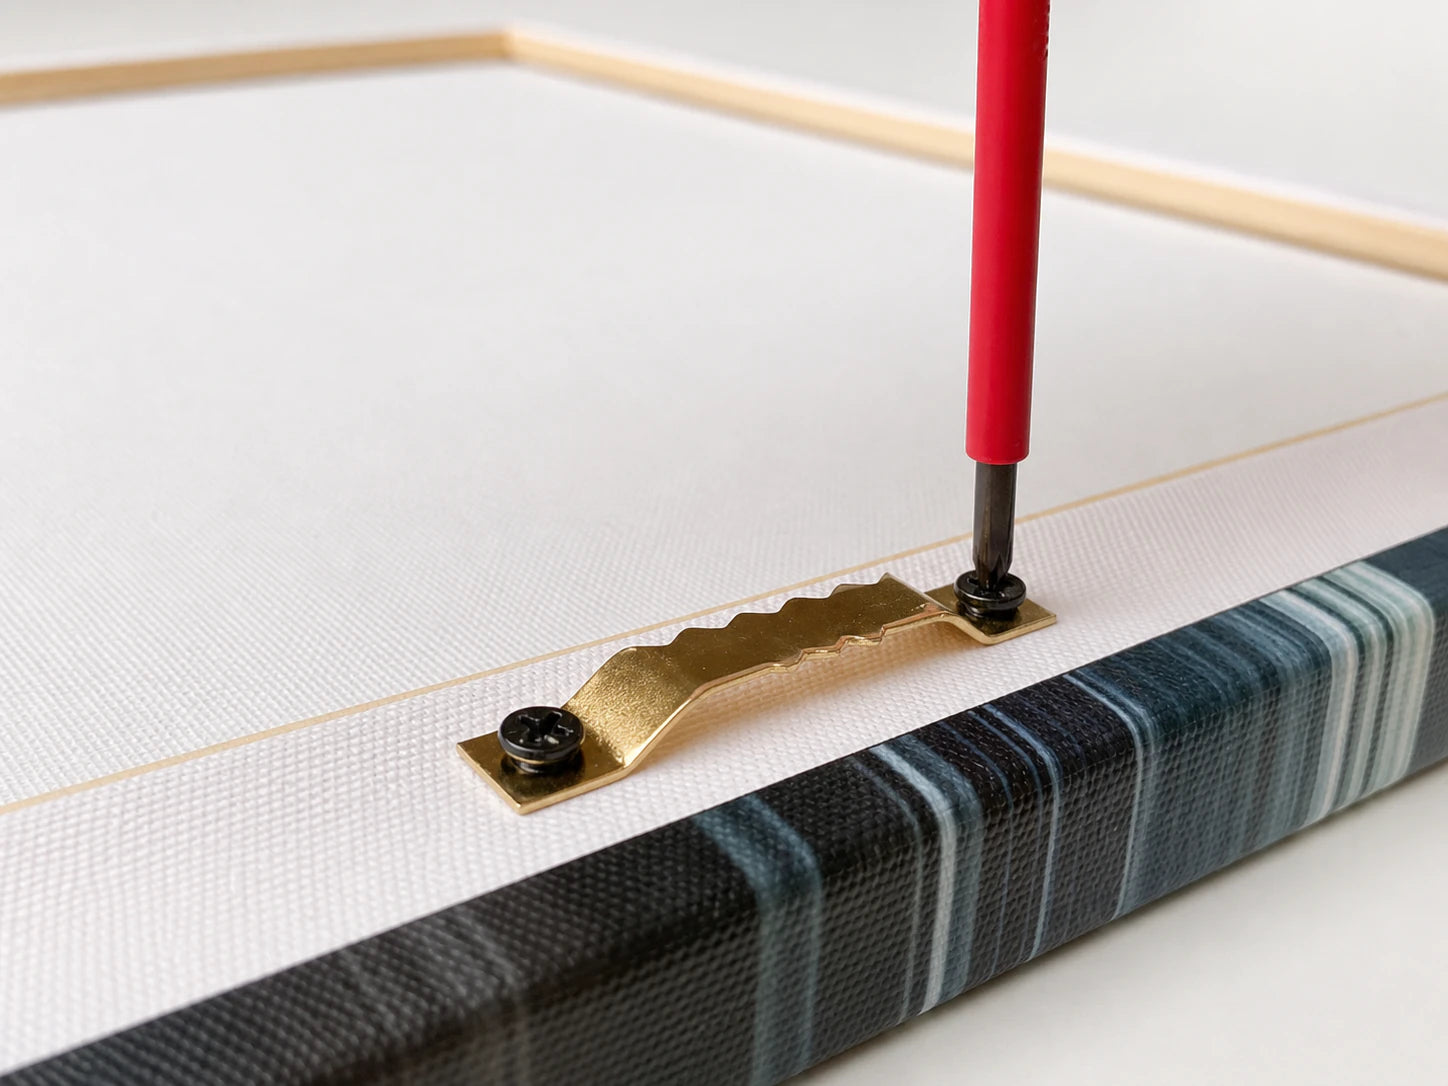
Step 2
Mounting the Sawtooth Hanger
- Centre the sawtooth hanger on the top edge of the canvas.
- Using a screwdriver, screw the hanger onto two screws. Take care to do this gently to avoid damaging the canvas.
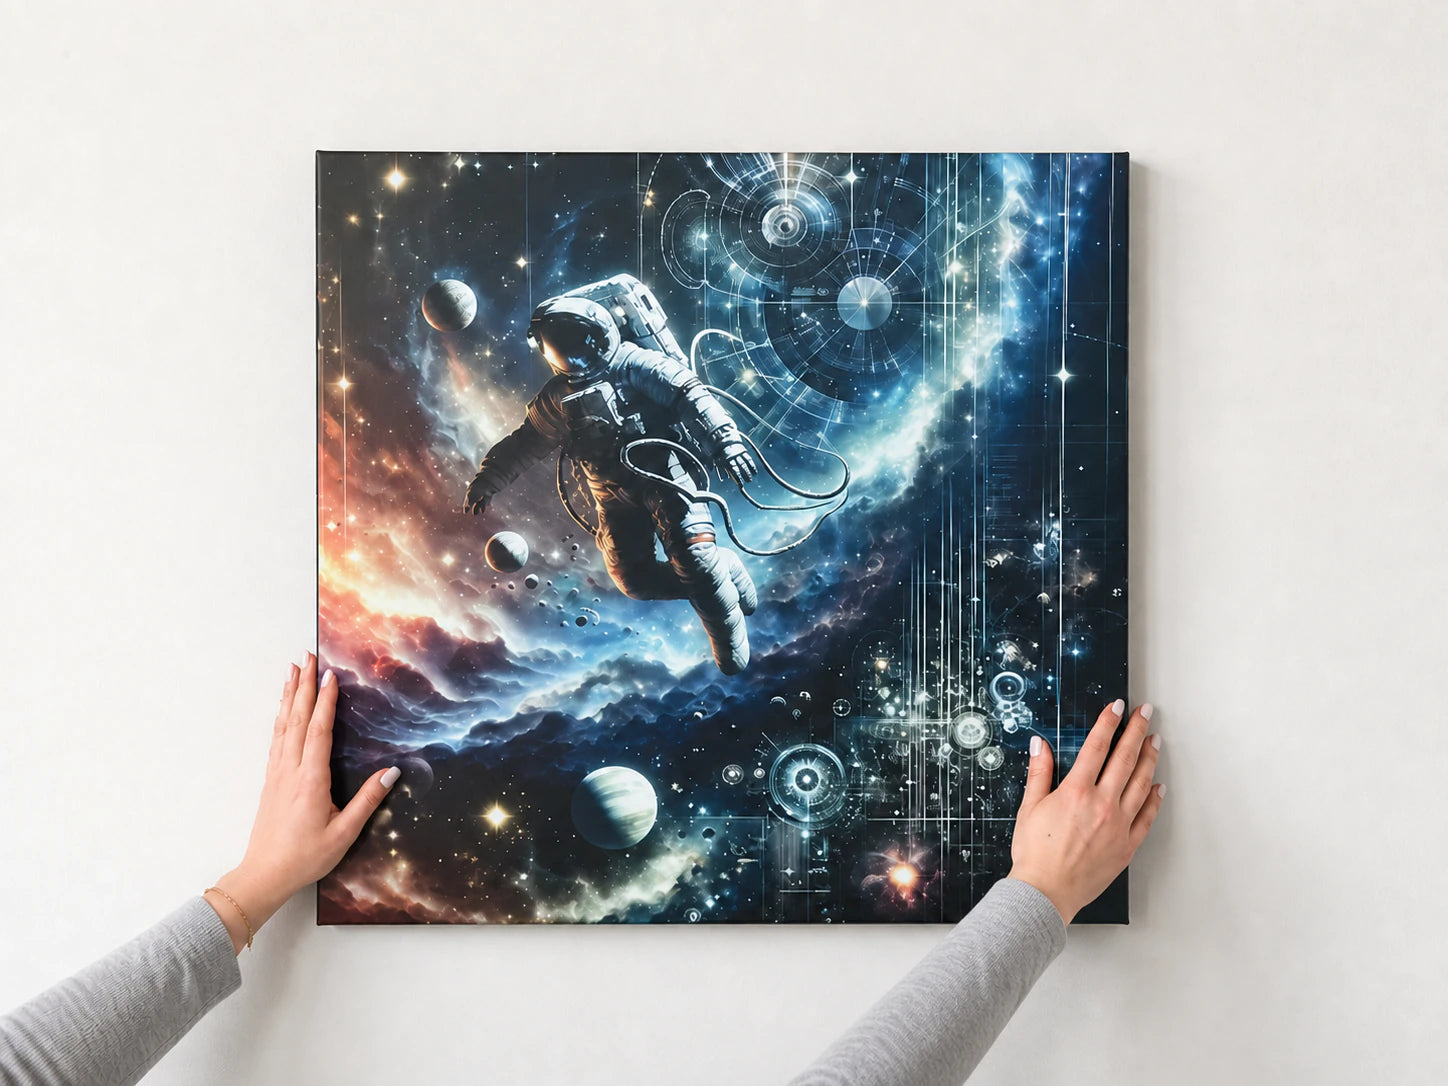
Step 3
Hanging with the Sawtooth Hanger
- Choose the location on the wall where you want to hang your canvas.
- Using a spirit level, mark two points on the wall close together, ensuring they will provide stable support for the canvas.
- Hammer nails into the marked points.
- Carefully hang the canvas by placing the sawtooth hanger onto the nails.
- After hanging your canvas using either method, step back and use the spirit level once more to ensure everything is perfectly horizontal. Adjust as necessary.
Method Two
This method provides an alternative way to hang the canvas, offering stability and adjustability for different sizes of artwork.
You will need
- Screwdriver
- Triangular D-rings

- Cord

- Spirit level
- Hammer
- Nails


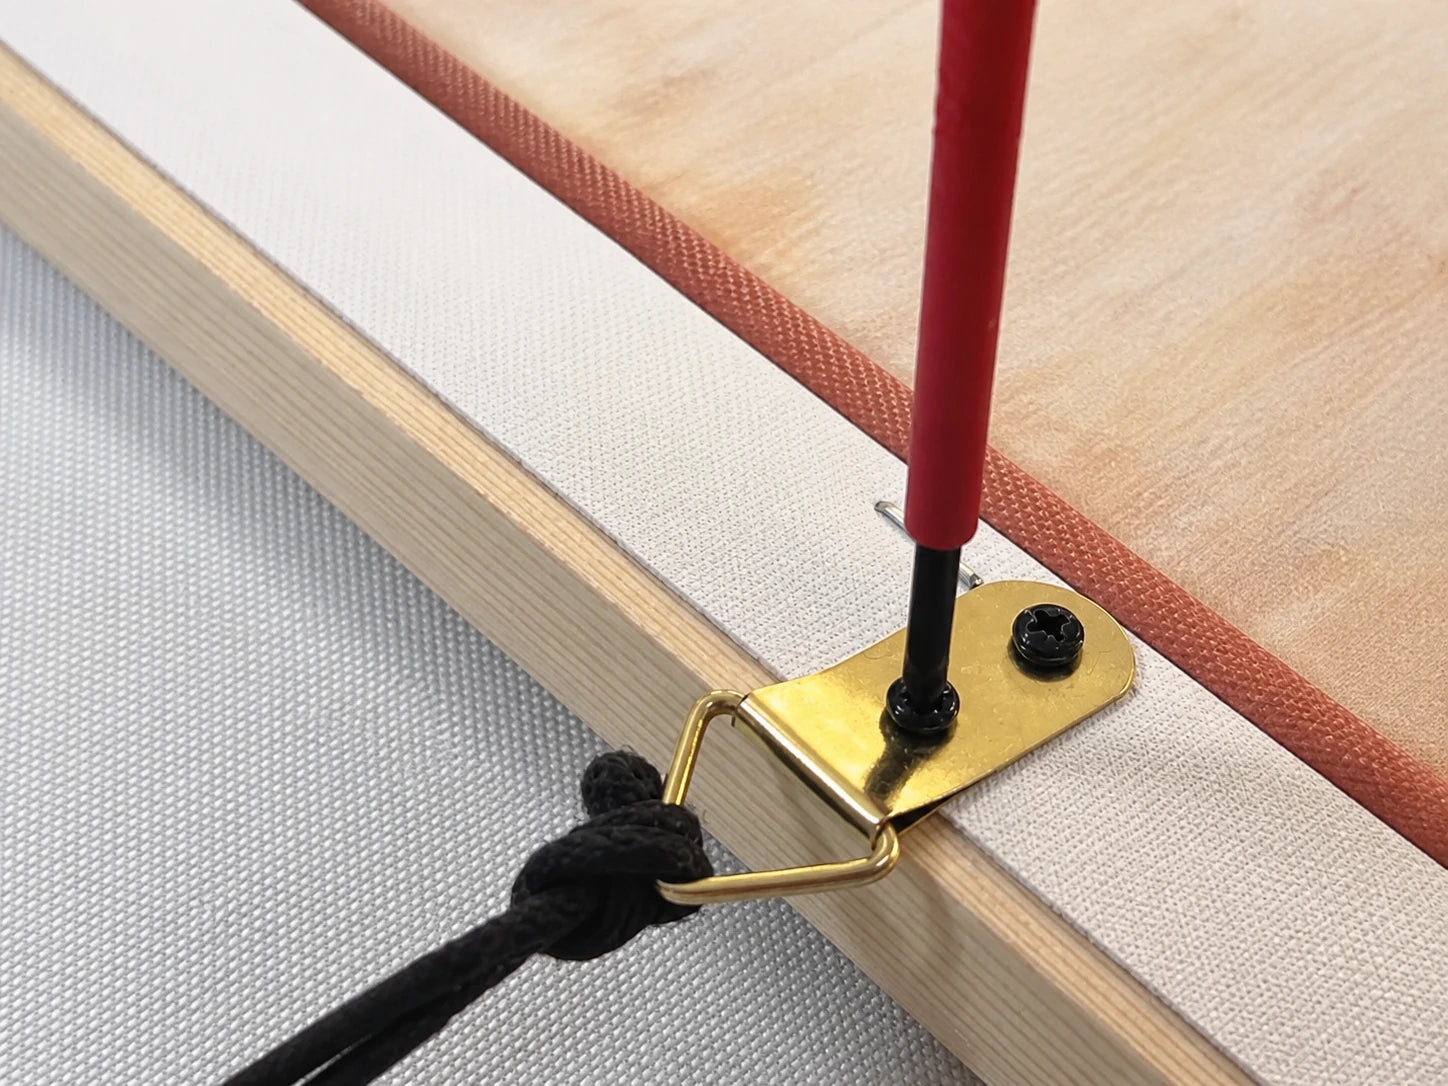
Step 1
Attaching the Triangular D-Rings
Attach the triangular D-rings to the side bars of the stretcher frame.
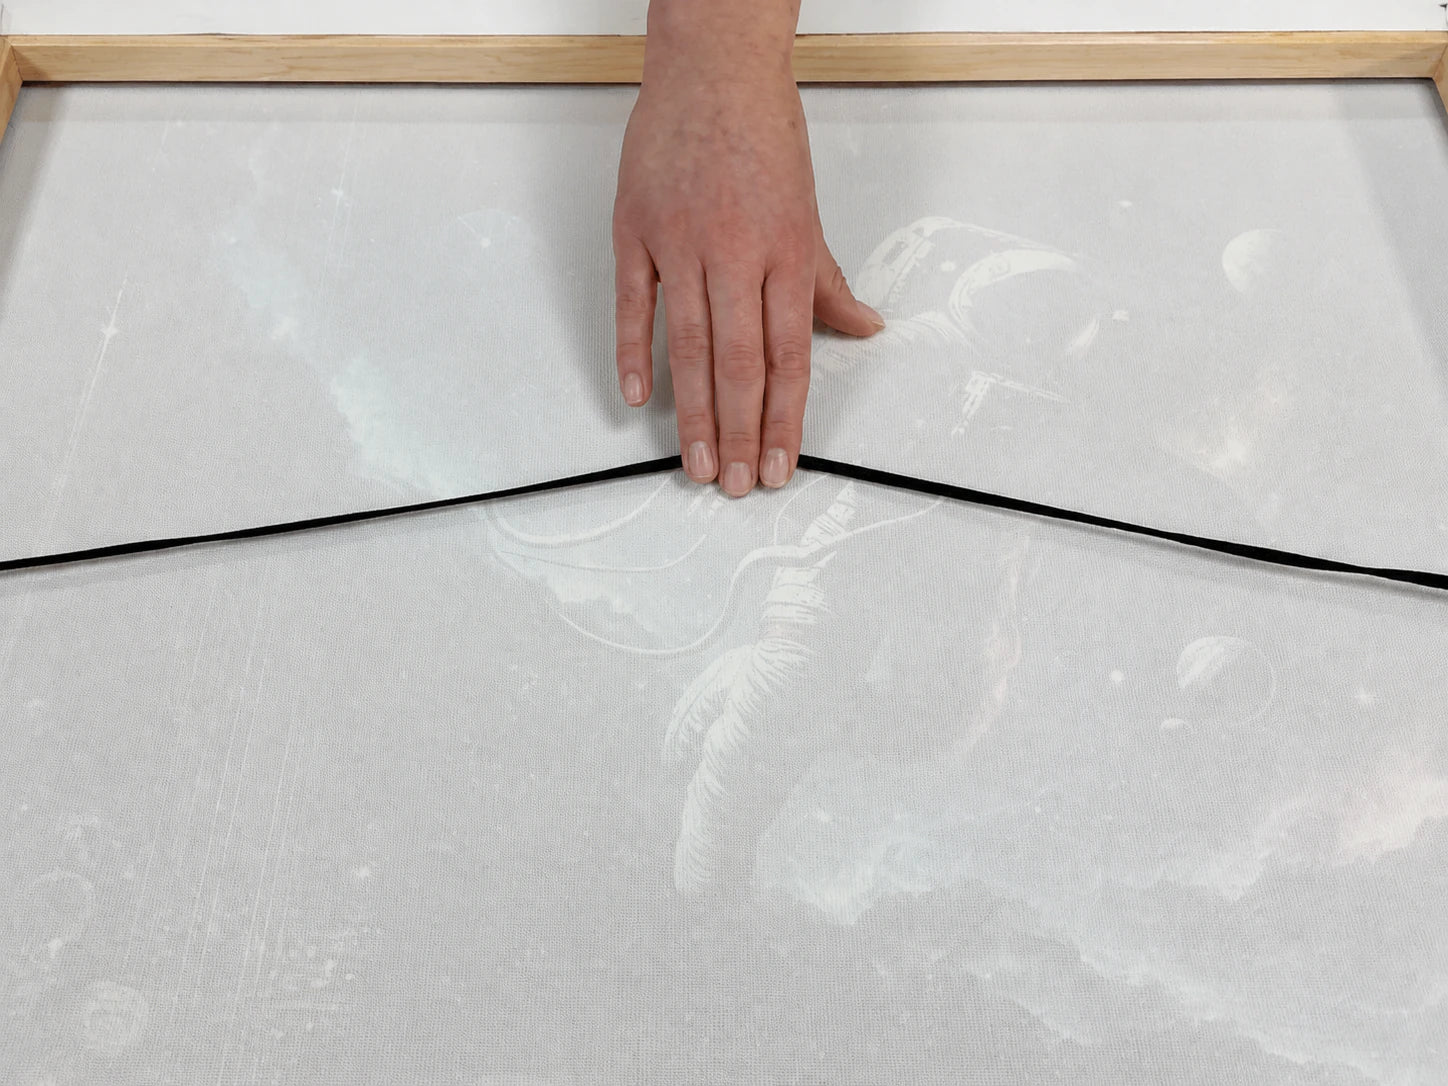
Step 2
Measuring the Cord
Measure an appropriate length of cord based on the size of the canvas and the placement of the triangular D-rings.
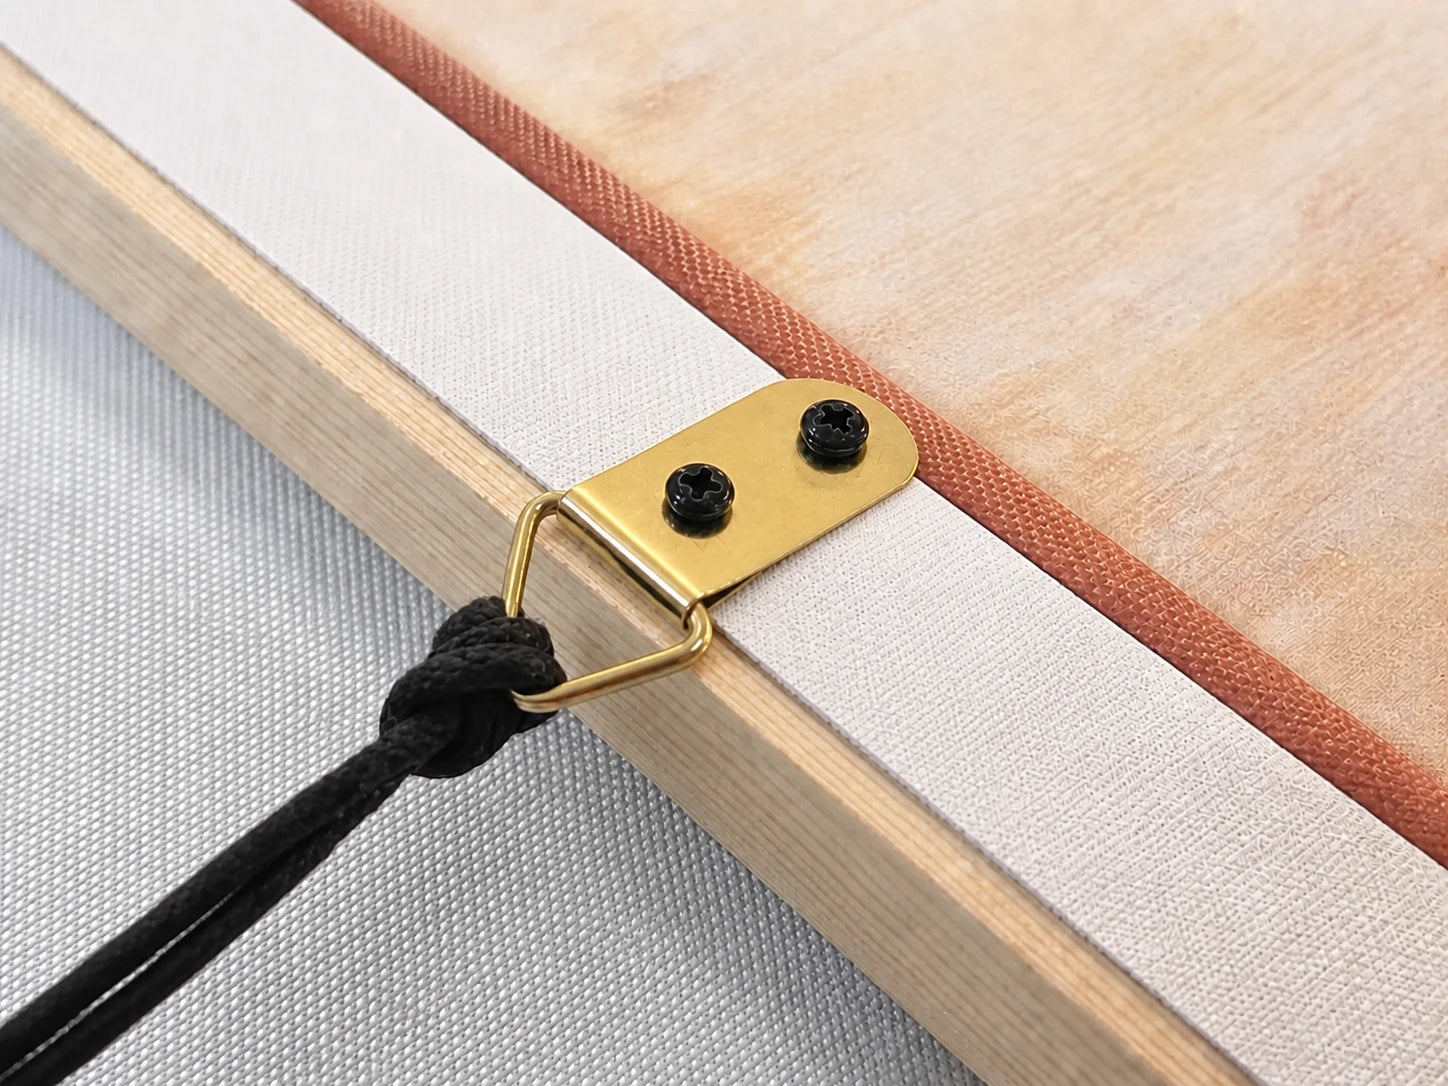
Step 3
Threading the Cord
- Thread the cord through the D-rings.
- Tie a knot in each end of the cord to secure it.
Step 4
Hanging the Canvas
Using the spirit level to ensure they're level, hammer the nails into the wall. Ensure they're not too close together.
Need help?
If your hanging kit is missing or you have any questions, we're here to help.